How To Set Up HubSpot’s Free CRM [Quick & Easy Guide]
HubSpot is one of the world’s leading CRMs, and for good reason. It has a winning selection of easy-to-use features that can help you to manage customers more effectively, sell like a gun, and market like a pro.
HubSpot’s advanced features are locked behind subscription plans, but unlike other software, it provides a surprising amount of value for its free plan, including:
- Contact management
- Help desk & ticketing system
- Sales pipeline management
- Prospect and deal tracking
- Email tracking & notifications
- Lead generation tools
- Meeting scheduling
- Ad management
- Landing page builder
- Email marketing tools
- Live chat
- Reporting dashboards
These features alone are well worth the time it takes to set up. Here’s a step-by-step guide on how to set up HubSpot’s free CRM, so you can start reaping the benefits for your business.
Time and cost
This process will take between one to two hours to complete and doesn’t cost a thing
What you need
All you’ll need is a list of your contacts on a spreadsheet. We’ll explain how to get this as part of the setup process below.
How to set up Hubspot’s free CRM
In this process, we’ll be covering some key features that we feel are most valuable to set up: contact management, email integration, website tracking, and an advert pop-up. But there’s plenty more free features that you can use, which HubSpot groups into “Hubs” on its setup page:

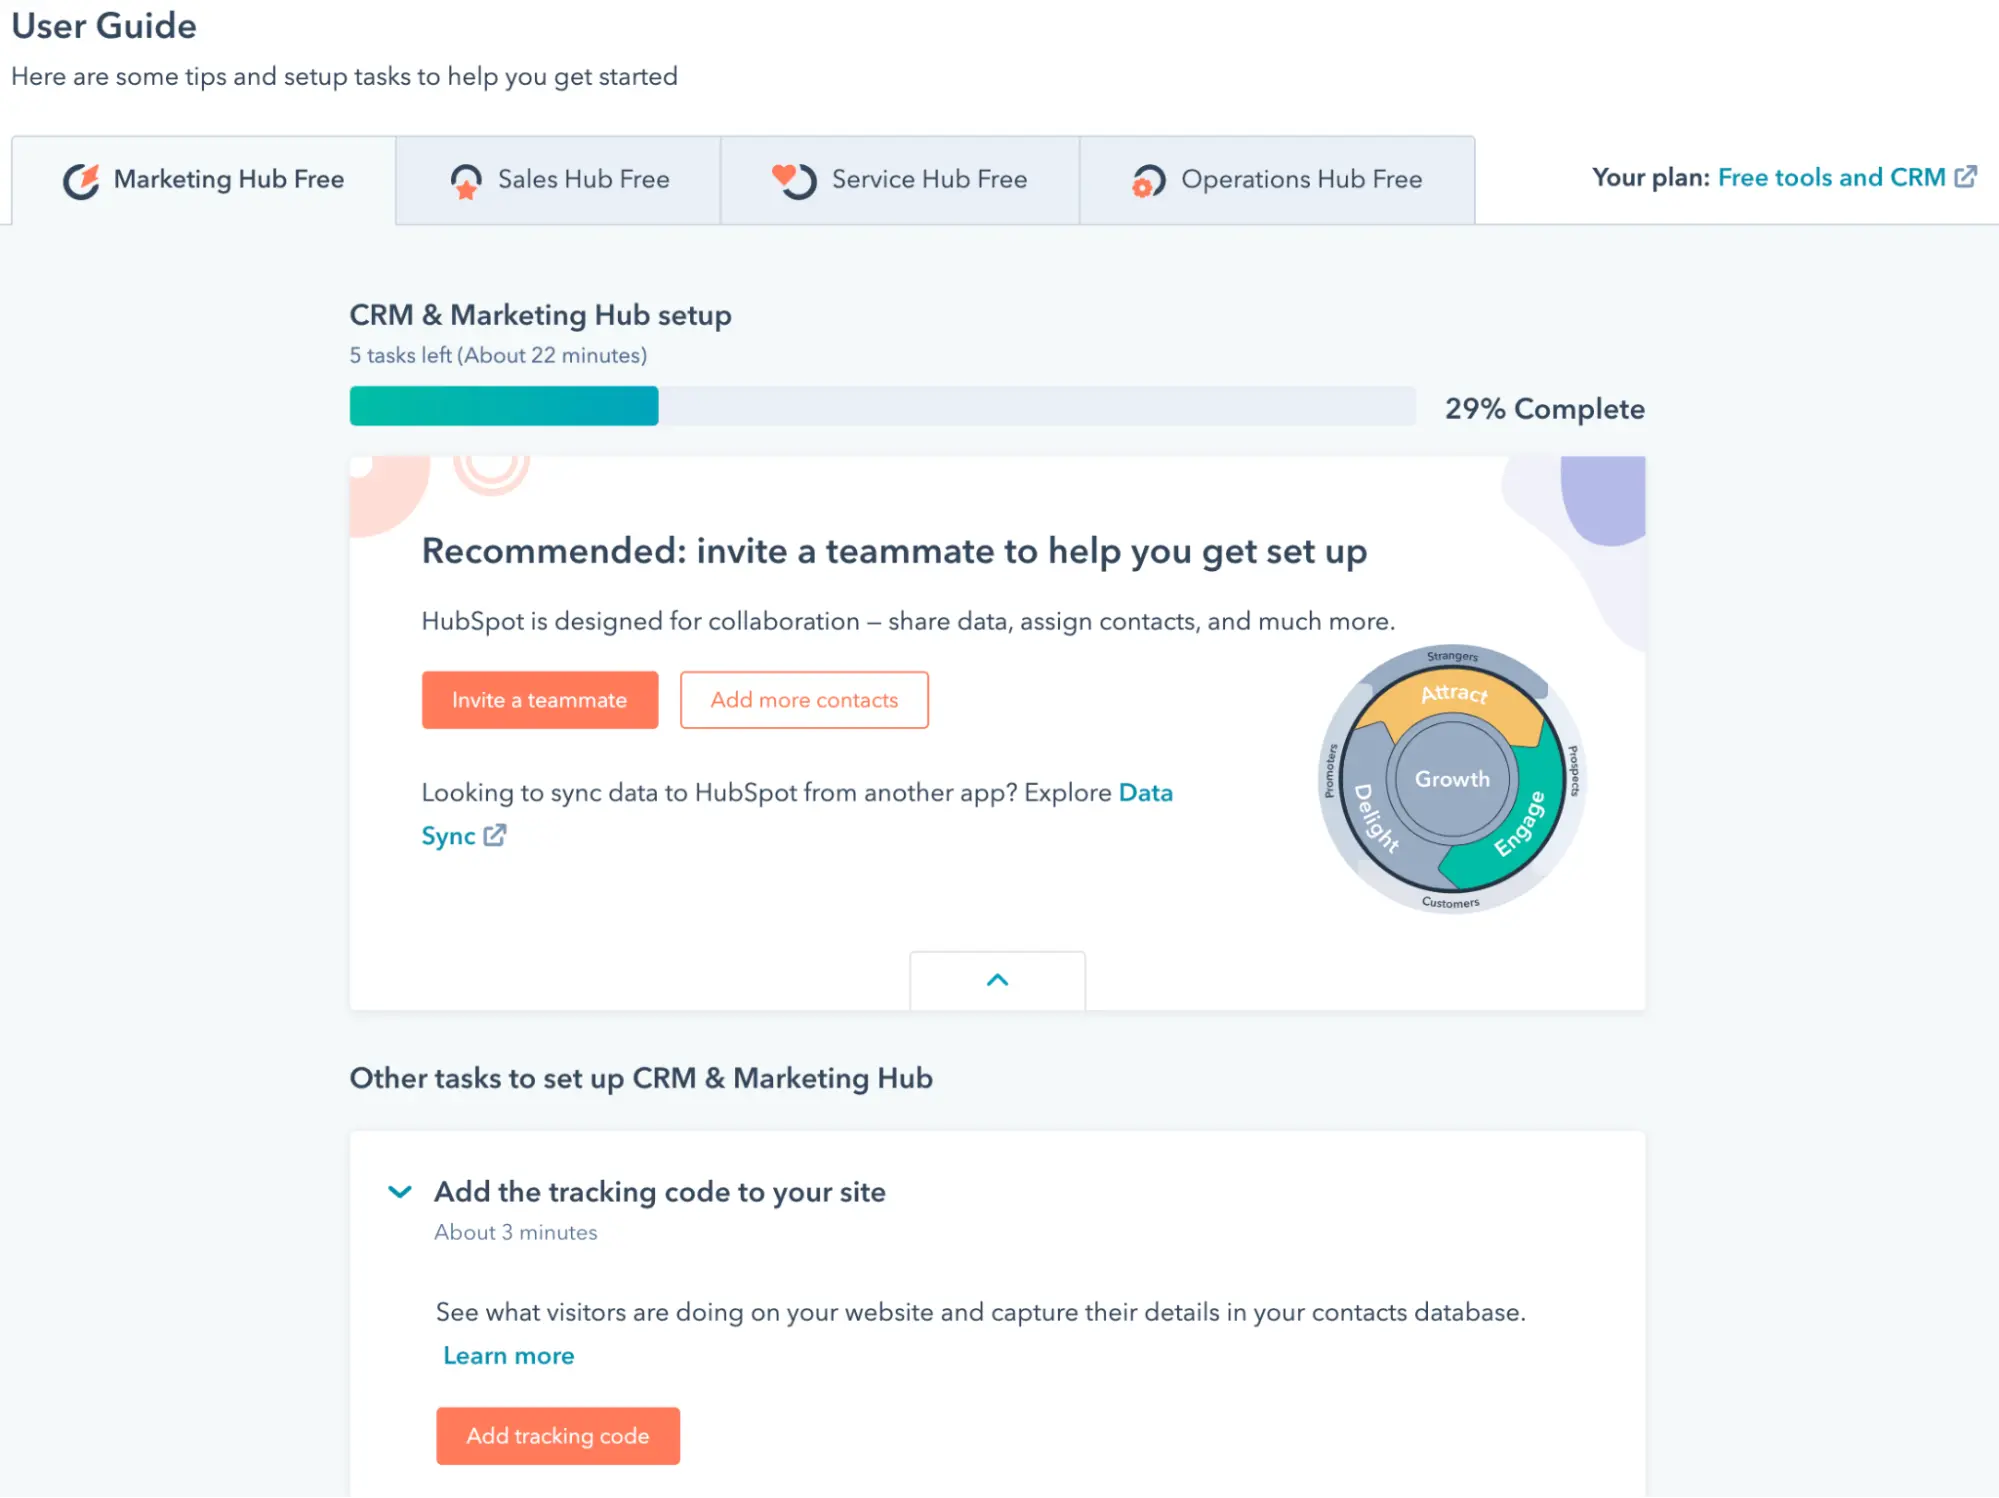
HubSpot’s User Guide setup screen, to help you set up what you need
Each of these Hubs is useful in its own way:
- Marketing Hub—manage adverts, send marketing emails, set up landing pages for your website, and forms.
- Sales Hub—set up and track deals and quotes, create tasks, create documents, and manage customer meetings.
- Service Hub—manage customer tickets.
- Operations Hub—manage contacts, install marketplace apps, and sync data.
Once you’re done working through this guide, we recommend working through the various tasks on the User Guide page, as it will give you access to a ton of great features.
But for now, let’s set up the key features outlined in this article.
Complete the initial setup process
To get started, you’ll need to work through HubSpot’s initial setup process. Here’s how it’s done:
- Go to HubSpot and click on the orange “Get free CRM” button.
2. When the page loads, you’ll need to enter your personal information, as well as information about where you work.
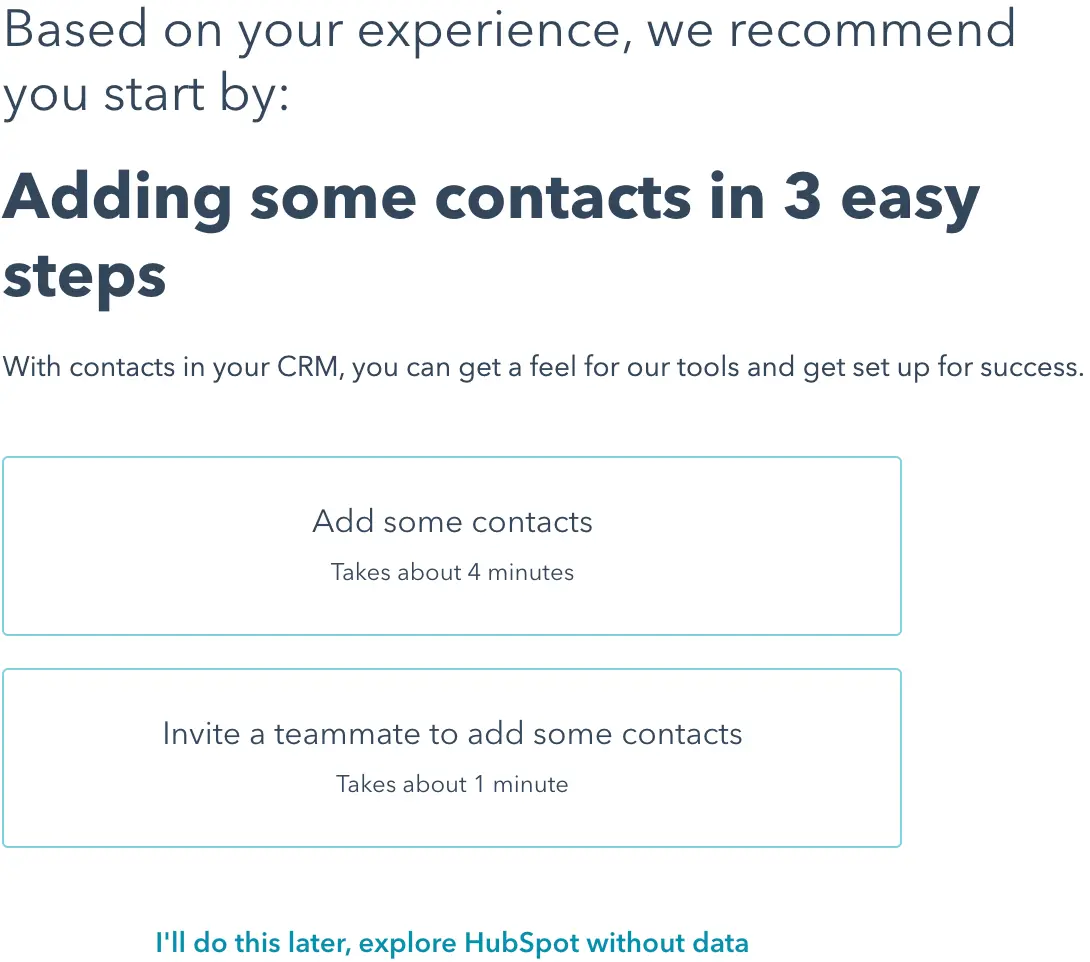
3. As part of the setup process, HubSpot will ask for your preferences and then try to guide you through features that are relevant to you. If you want to complete this, go ahead. But otherwise, you can click on the “I’ll do this later, explore HubSpot without data” link that appears during the process.
Add your contacts to HubSpot
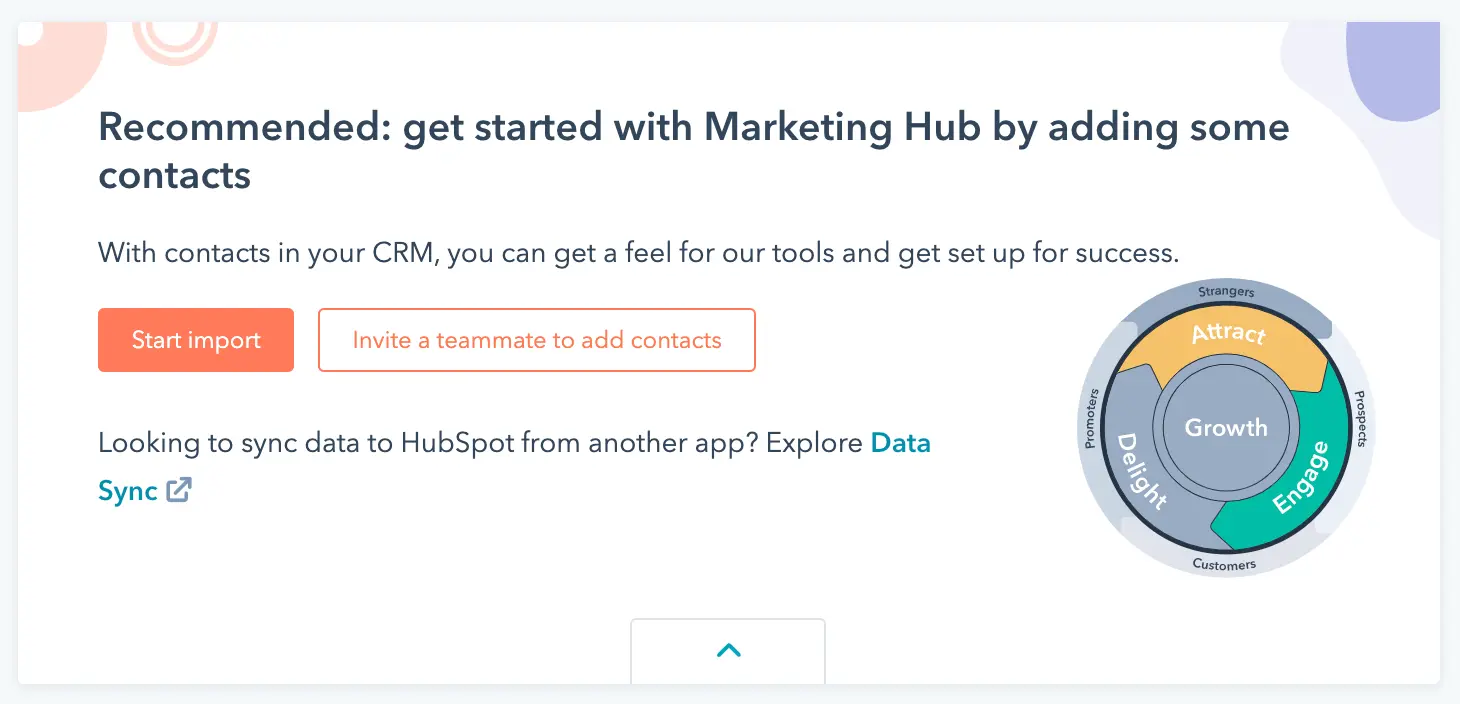
When you complete the initial setup, HubSpot will display a “User Guide” as its home screen, to help you set up the various areas of the free CRM.
The first step is adding your contacts to HubSpot. To do this, you’ll need a spreadsheet with your contact info. You can export this from whichever CRM or other system you’re using. It should include as much useful contact information as possible—first name, last name, email, company, phone number, and industry to name a few.
Once you have this information in a spreadsheet, you can start the import process:
- Click on the “Start import” button to start the contact import process.
2. Drag your spreadsheet into the drag and drop area, or click on the “choose a file” link to select it on your computer. When done, click on the orange “Next” button on the bottom right.

3. When the file is uploaded, HubSpot will attempt to match its contact fields with the column headings from your spreadsheet. For example, if it finds a column heading in your spreadsheet with “First Name,” it will automatically match it with their field also called “First name,” to make things easy for you. If it doesn’t find a match, the HubSpot property dropdown for the field will display “Choose or create a property,” which you’ll need to click on and select an appropriate choice. Work through the list until every field is selected, then click the “Next” button on the bottom right.
 HubSpot’s contact field matching system
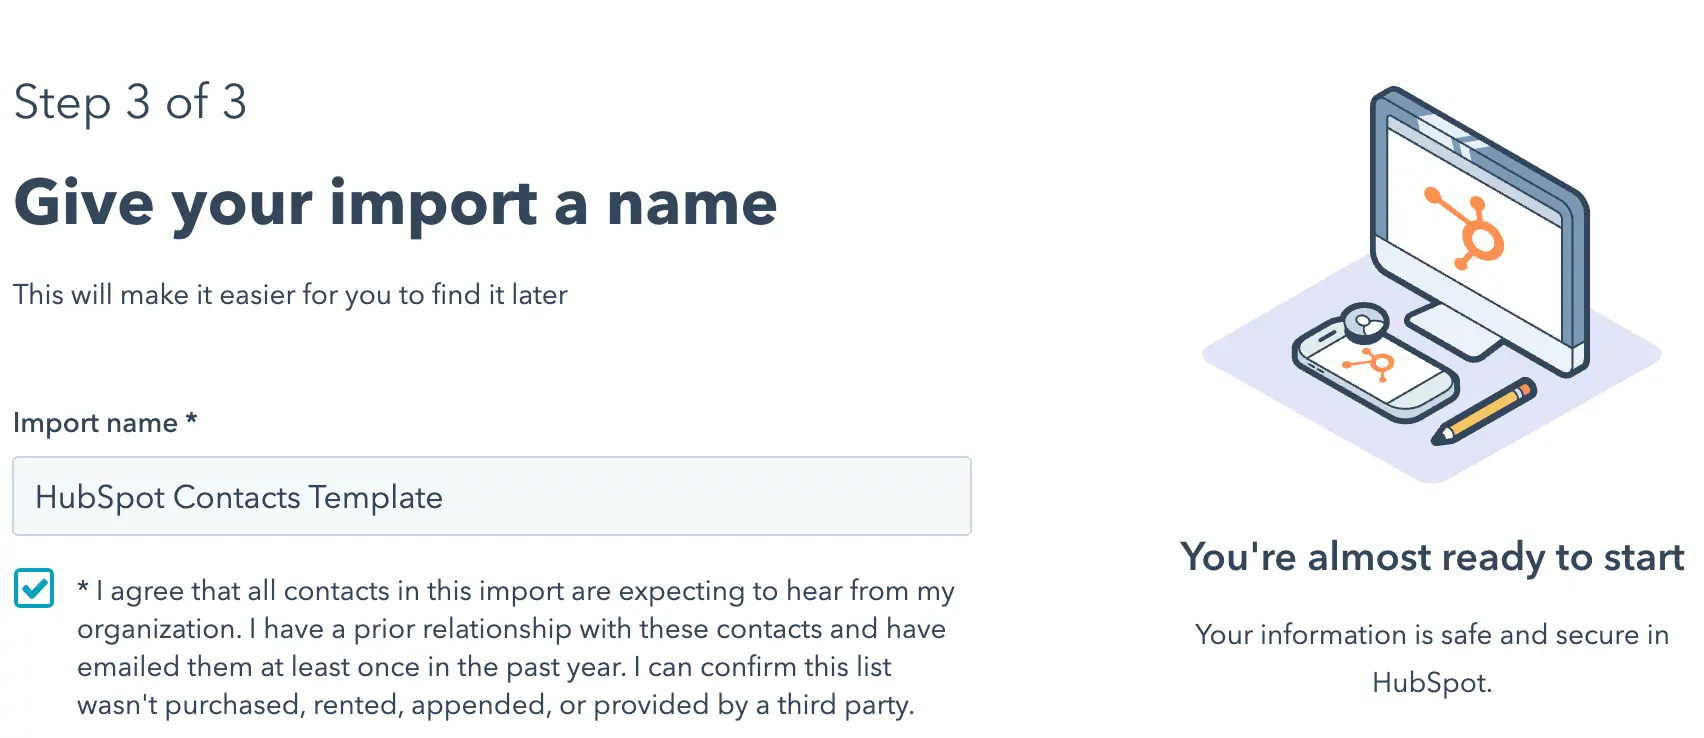
4. Give your import a name (like “Customer import [date]”), click on the “I agree” checkbox, and then click the “Finish import” button on the bottom right to finish importing your contacts.
5. Click on the HubSpot icon on the top left of the screen to go back to the User Guide.
Set up your emails
If you’d like to use HubSpot to track and send customer emails, you can connect your email by following these steps:
- Click on the “Service Hub Free” tab on the User Guide (home) screen. Then click on “Connect your team email to HubSpot,” and click again on the “Set up team inbox” button.
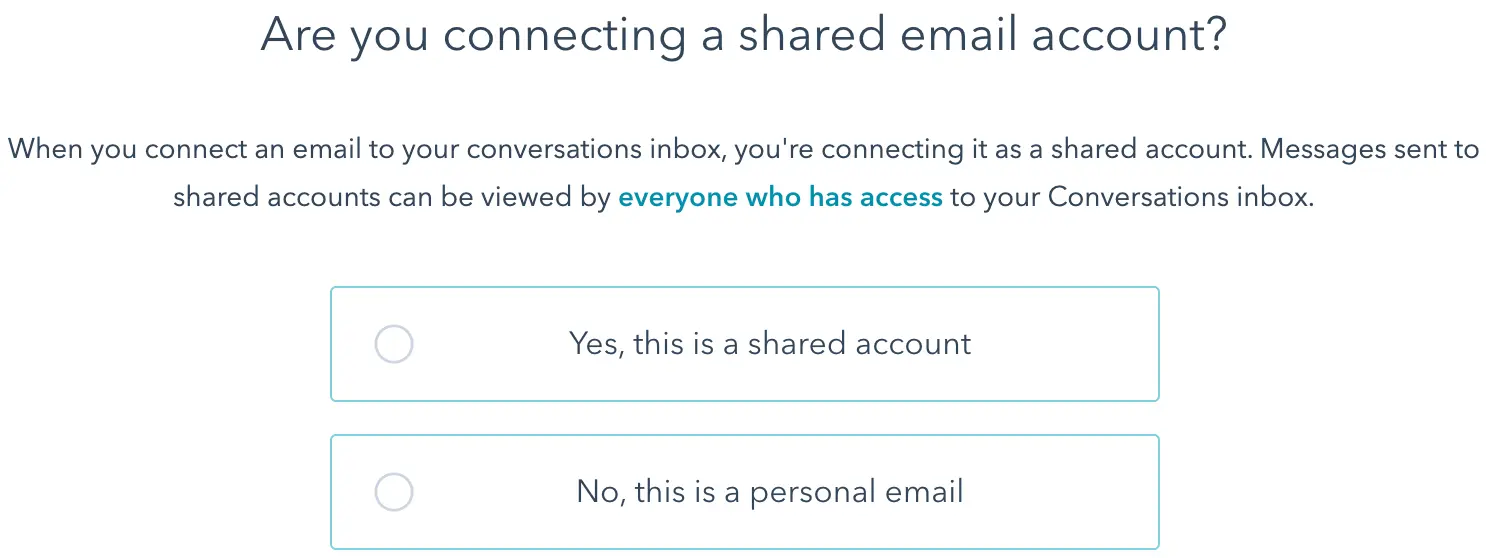
2. Choose whether you’re connecting a shared email account (where everyone can see your emails), or a personal email account (where people can’t see your emails).
3. Next, select the type of email you’re connecting (e.g. Gmail), then click the “Continue” button on the next screen.
4. Choose the email account you want to connect, and then allow/approve the data access on the following screen.

5. If you’d like to update your email details, you can do so on this screen. You can choose who your email comes from, and also add an email signature if you like. Click the orange “Next” button when you’re done.

6. On the next screen, you can choose whether to treat all incoming emails as support tickets, with the option shown below:

7. When you’re done, click the orange “Connect & finish” button on the bottom right, and close any windows that appear. You’ll now be on HubSpot’s “Inbox” page, where you can manage any emails that are sent to and from your email account. Have a play around if you want to, and then click on the HubSpot icon on the top left to return to the User Guide screen.
Set up your tracking code
To find out what visitors are doing on your website (e.g. which pages they’re viewing, which forms they’re submitting, etc.) you can add HubSpot’s tracking code to your website. This code also allows you to show the ad pop-up that we’ll set up in the next step.
Here’s how to add HubSpot’s tracking code:
- On the User Guide home screen, click on the “Marketing Hub Free” tab, then the “Add the tracking code to your site” text, and finally the “Add tracking code” button to start the setup process.
2. This step can be a little tricky, because you’ll need to paste code into your website’s header file. If you have a WordPress website, you can click on the “I host my site on WordPress” link at the bottom of the page, and follow the steps to Install the WordPress plugin on HubSpot. If your website is hosted on a different CMS, find it in the “Select website type” dropdown on the screen, and then click the link that appears below to find instructions. Once you’re clear on what needs to be done, you can copy the Hubspot tracking code and paste it into your website’s header file.
![]()
3. Once you’ve added the tracking code to your website, click the orange “Done” button on HubSpot.
Set up an advert pop-up
Love them or hate them, advert pop-ups work, and HubSpot makes them super easy to set up. In our example, we’ll be creating a pop-up that asks people to subscribe to your blog. Here’s how it’s done.
- Hover over the “Marketing” link in the top navbar, and then select “Forms” from the dropdown.
- Click the orange “Create a free form” button on the top right.
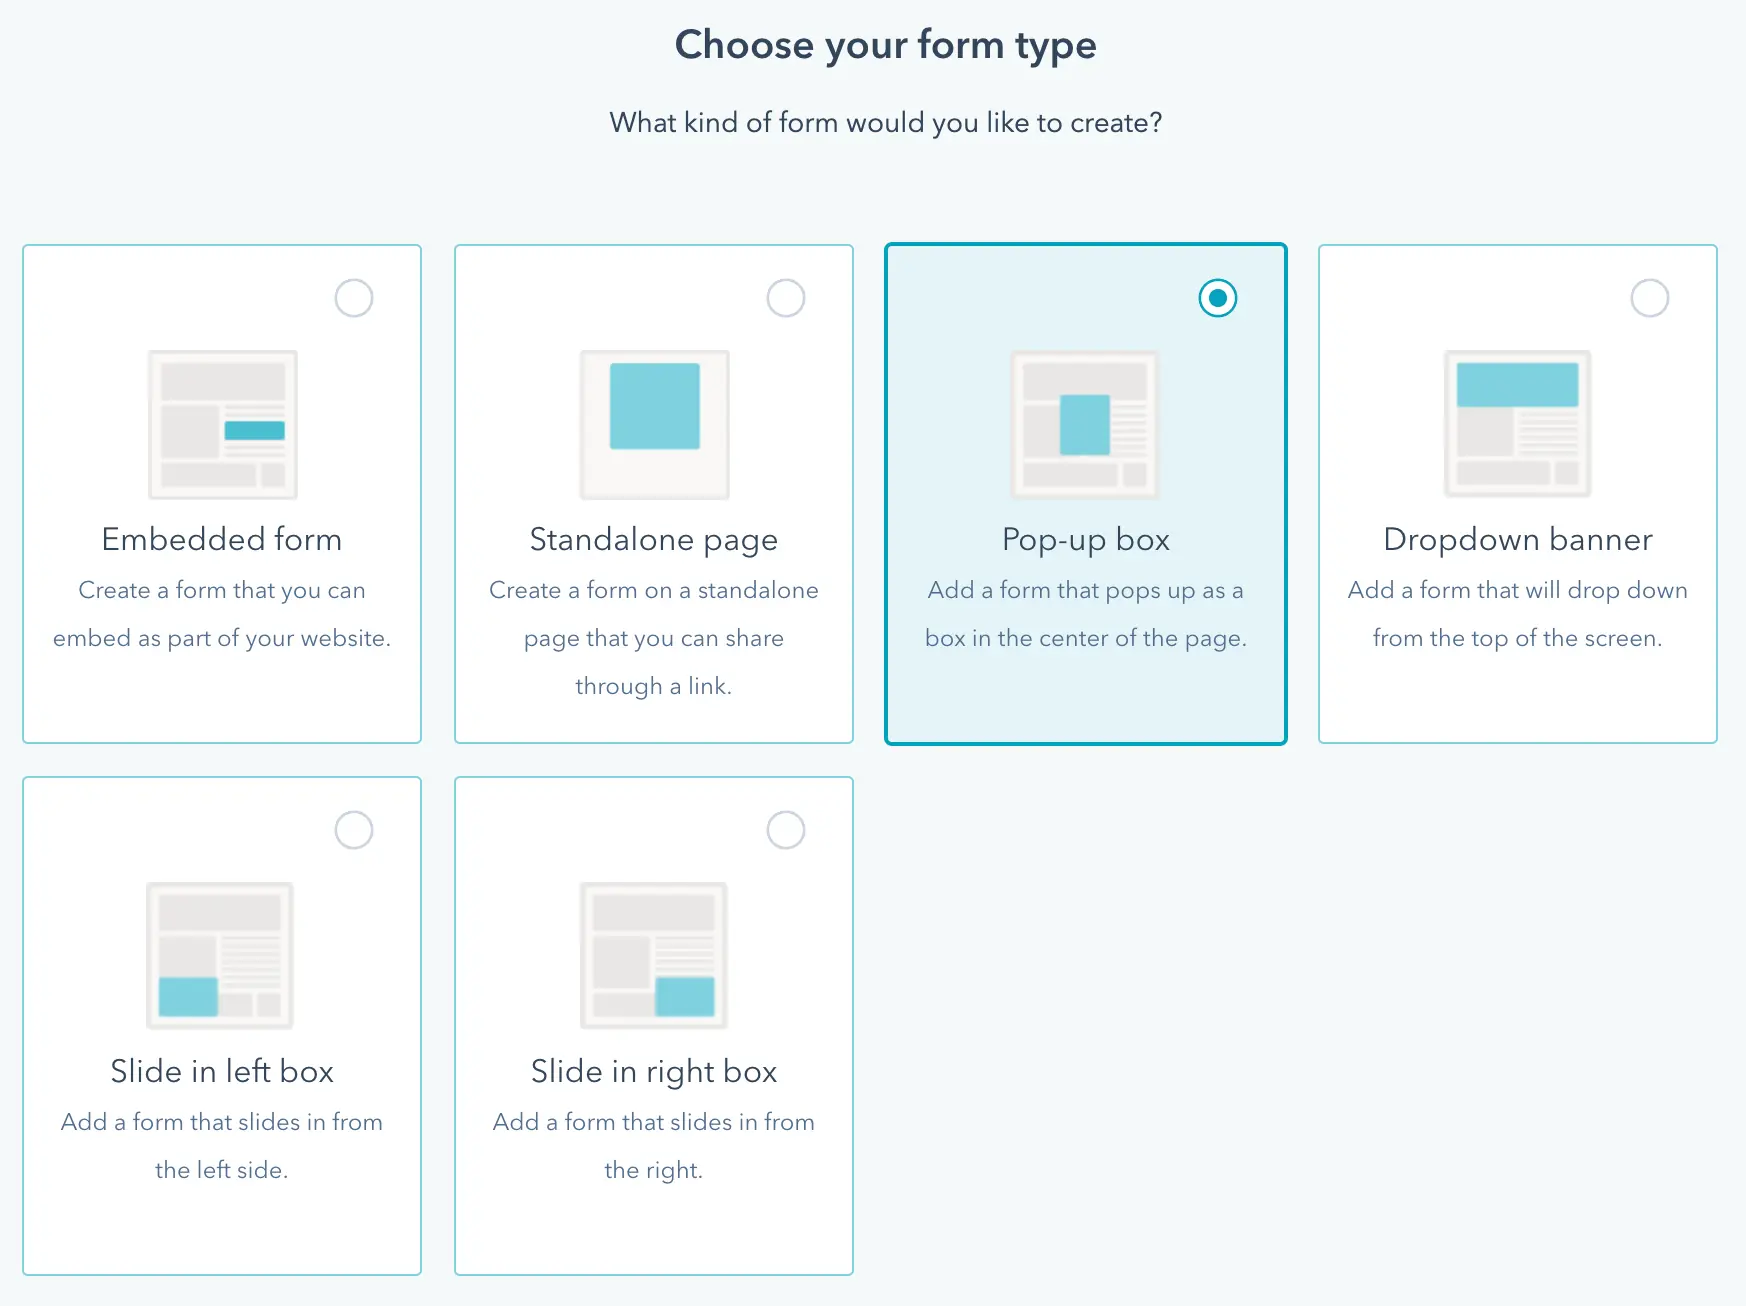
- Select “Pop-up box” from the options, and then click the “Next” button on the top right.
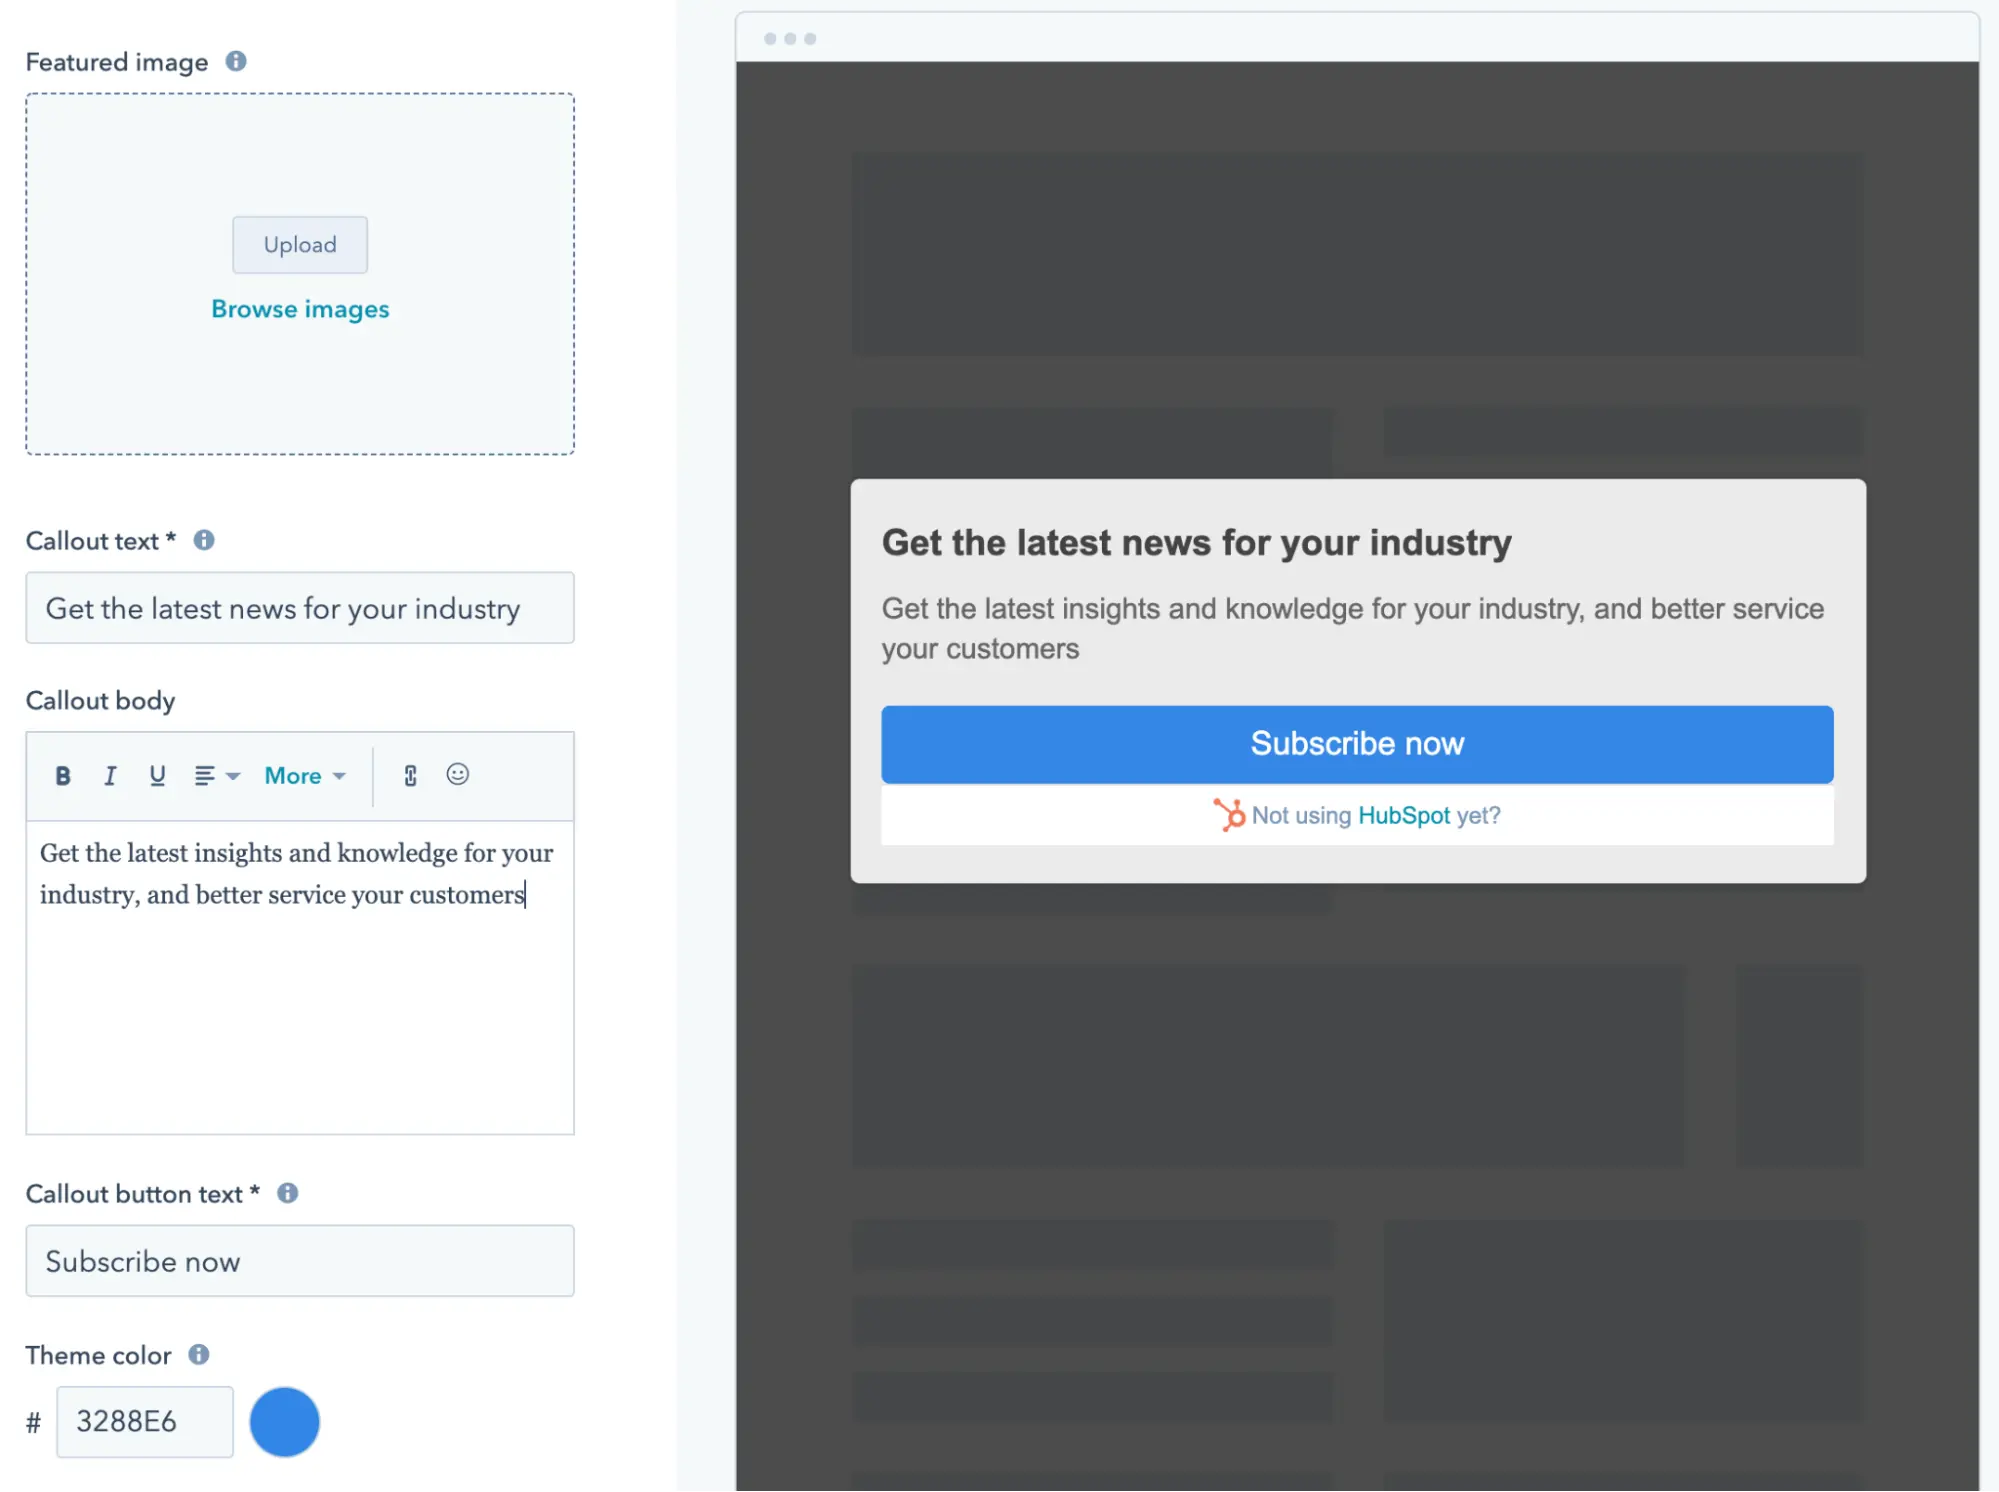
4. Add an enticing headline to the “Callout text” field, such as “Get the latest news for your industry.” This headline is very important, so be sure to sell the main benefit of your newsletter subscription.
5. Add further benefits and information in the “Callout body” text.
6. If you want to, update the text in the “Callout button text,” and change the “Theme color” to a hue that matches your company branding.
7. When you’ve finished updating the fields, click the orange “Next” button on the top right.
8. Add more copy to the “Form body” text. This is a good place to reiterate the benefits.
9. By default, HubSpot asks the user for their email address only, as this improves the likelihood of the form being completed. But if you’re planning on using people’s first name in your marketing, you can add this to the form by clicking on the “Add another form field” link, and then selecting “First name” from the dropdown that appears below it.
10. When you’re done, click the “Next” button on the top right to continue.
11. Update the “Thank you message” field if you’d like to, then click “Next.”
12. If you’d like to create an email that thanks people for their subscription, you can do so by clicking on the “Create follow-up email” button and following the process. Otherwise, click the “Next” button again.
13. In this targeting section, you can select which pages your pop-up should show, and which types of visitor it should show for. By default, HubSpot will show the pop-up on every page to every user, and is a good default if you don’t want to make any changes. But if you want to get more refined, you can choose particular pages where you want it to show, and select visitor attributes like list subscriptions, referral URLs, and more. Once you’re done, click on the orange “Next” button on the top right, and then “Next” again on the following screen.
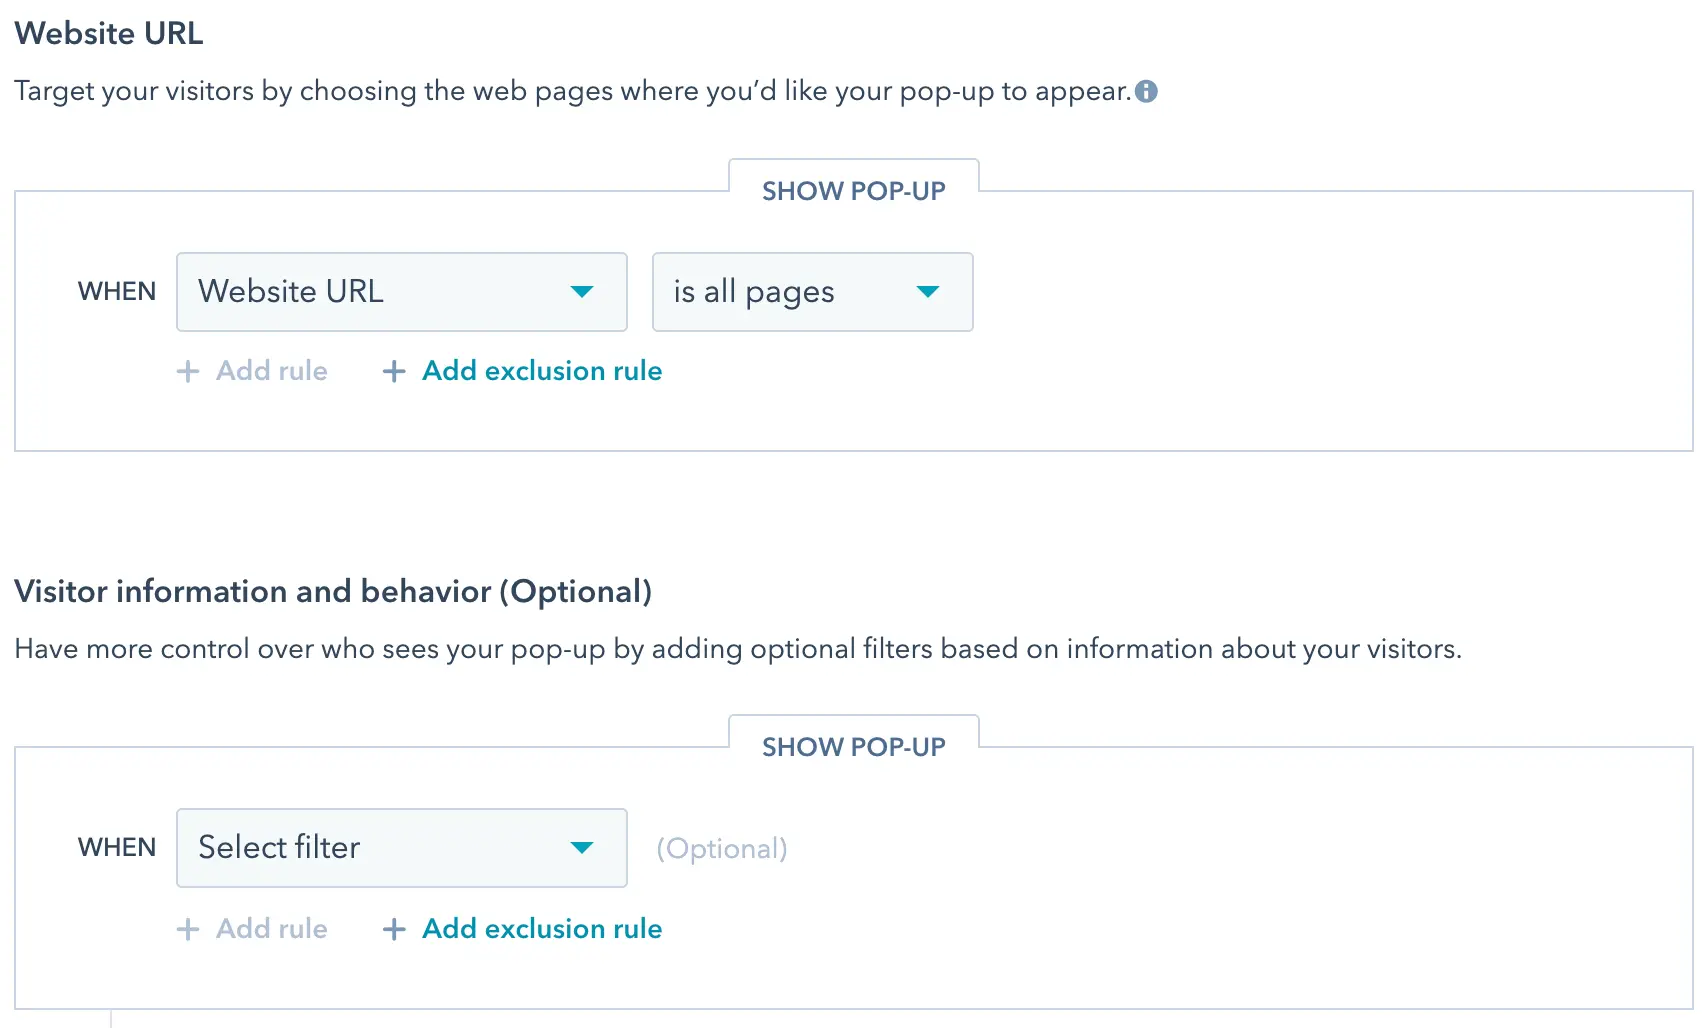 Select more precise targeting for if you need to
14. On this final page, you’ll see a preview of your pop-up. If you need to make changes, you can use the tabs to navigate back to previous sections. Otherwise, click the orange “Publish” button, and you’re done!